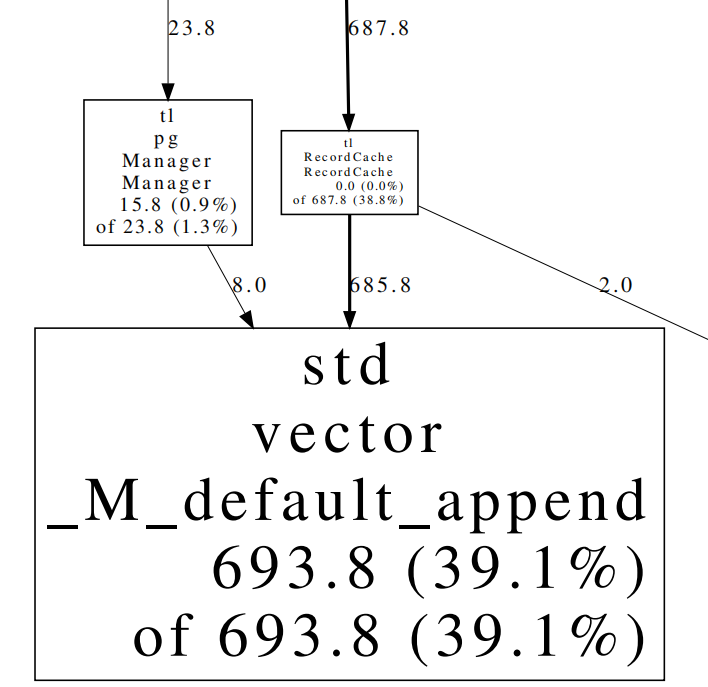
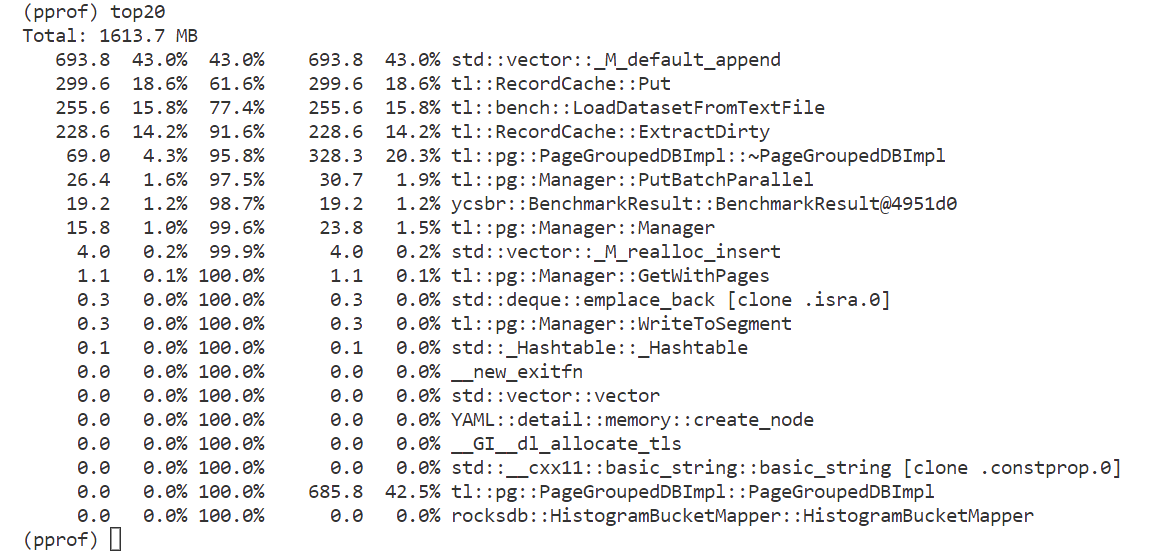
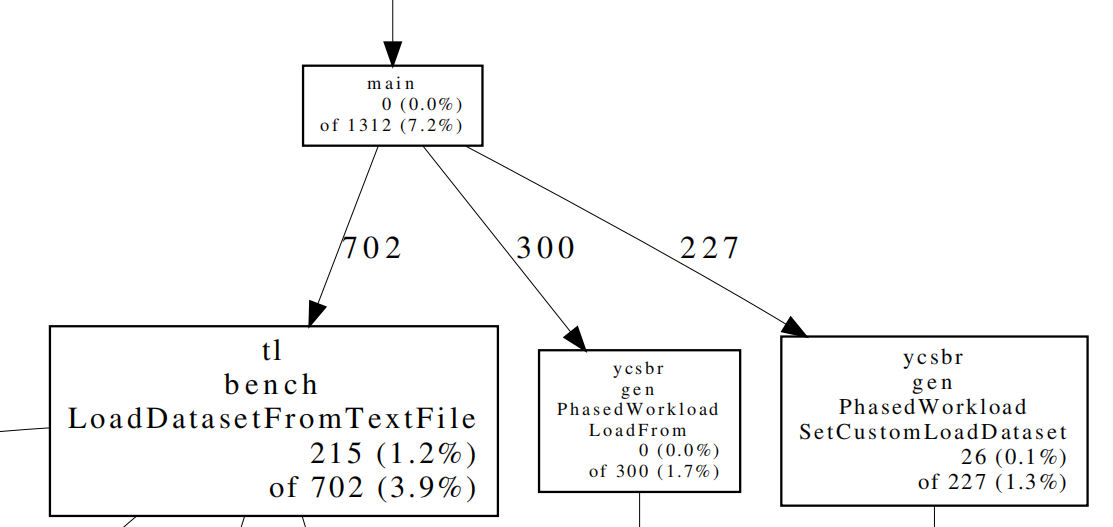
TreeLine为C++项目,使用VSCode远程连接linux并实现debug。
部署
工具
VSCode
gdb12.1
步骤
VSCode远程连接linux服务器并打开存放TreeLine的文件夹
修改项目目录下的.vscode/launch.json文件为:
1
2
3
4
5
6
7
8
9
10
11
12
13
14
15
16
17
18
19
20
21
22
23
24
25
26
27
28
29
30
31
32
{
"version": "0.2.0",
"configurations": [
{
"name": "(gdb) 启动", //debug名称
"type": "cppdbg",
"request": "launch",
"program": "${workspaceFolder}/build/bench/run_custom", //要debug的可执行文件的存放位置
"args": [], //参数(待定)
"stopAtEntry": false,
"cwd": "${workspaceFolder}",
"environment": [],
"externalConsole": false,
"MIMode": "gdb",
"miDebuggerPath":"/usr/local/bin/gdb", //linux中gdb的路径
"setupCommands": [
{
"description": "为 gdb 启用整齐打印",
"text": "-enable-pretty-printing",
"ignoreFailures": true
},
{
"description": "将反汇编风格设置为 Intel",
"text": "-gdb-set disassembly-flavor intel",
"ignoreFailures": true
}
]
}
]
}
编译源文件
与TreeLine中的编译过程一致,但需修改部分:
在编译之前,将treeline文件夹更名为treeline-debug,并修改treeline-debug/CMakeLists.txt文件,在第三行后加入:
1
2
3
SET(CMAKE_BUILD_TYPE "Debug")
SET(CMAKE_CXX_FLAGS_DEBUG "$ENV{CXXFLAGS} -O0 -Wall -g -ggdb")
SET(CMAKE_CXX_FLAGS_RELEASE "$ENV{CXXFLAGS} -O3 -Wall")以使得编译好的可执行文件中含有gdb需要的信息
在编译时,将
-DCMAKE_BUILD_TYPE=Release选项去掉
debug
获取运行时参数
首先修改treeline-debug/scripts/ycsb_v2/COND文件,使得运行cond命令时只运行某一个特定的实验
将treeline-debug/scripts/ycsb_v2/run.sh的内容复制一份,给treeline-debug/scripts/ycsb_v2/run_copy.sh
1
2
cd treeline-debug
cp scripts/ycsb_v2/run.sh scripts/ycsb_v2/run_copy.sh将run_copy.sh中
../../build/bench/run_custom \及其之后的所有语句都删掉,并在run_copy.sh的末尾加上1
2
3
4
5args+=("--workload_config=$COND_OUT/workload.yml")
args+=("--output_path=$COND_OUT")
echo ------------------------------------------------------------------------------------------------------------
echo ${args[@]}
echo ------------------------------------------------------------------------------------------------------------修改COND文件:将相应的cond运行命令描述中的
run="./run.sh",改为run="./run_copy.sh",执行cond命令,获取参数,参数会被打印在两条分割线之间,打印参数后cond执行完毕,程序结束
1
cond run //scripts/ycsb_v2: [command]
将获取到的参数以如下形式全部填入launch.json文件中
1
2
3
4
5
6
7
8
9
10
11
12
13
14
15
16
17
18
19
20
21
22
23
24
25
26
27
28
29
30
31
32{
"version": "0.2.0",
"configurations": [
{
"name": "(gdb) 启动", //debug名称
"type": "cppdbg",
"request": "launch",
"program": "${workspaceFolder}/build/bench/run_custom", //要debug的可执行文件的存放位置
"args": ["--bg_threads=4", "--latency_sample_period=10", "--bypass_wal=true", "--use_direct_io=true", "--rdb_bloom_bits=10", "--rdb_prefix_bloom_size=3", "--reorg_length=2", "--deferral_autotuning=true", "--max_deferrals=1", "--optimistic_rec_caching=false", "--pg_use_pgm_builder=true", "--record_size_bytes=64", "--tl_page_fill_pct=70", "--records_per_page_goal=44", "--records_per_page_epsilon=5", "--rec_cache_use_lru=false", "--cache_size_mib=1143", "--pg_parallelize_final_flush=true", "--db=pg_llsm", "--custom_dataset=/mnt/data2/datasets/amazon_reviews.txt", "--threads=16", "--verbose", "--db_path=/mnt/data2/flash2/llsm", "--seed=42", "--notify_after_init", "--skip_load", "--workload_config=/home/xlx/treeline-debug/cond-out/scripts/ycsb_v2/amzn-pg_llsm-64B-a-zipfian-16.task.1692001938/workload.yml", "--output_path=/home/xlx/treeline-debug/cond-out/scripts/ycsb_v2/amzn-pg_llsm-64B-a-zipfian-16.task.1692001938"],
"stopAtEntry": false,
"cwd": "${workspaceFolder}",
"environment": [],
"externalConsole": false,
"MIMode": "gdb",
"miDebuggerPath":"/usr/local/bin/gdb", //linux中gdb的路径
"setupCommands": [
{
"description": "为 gdb 启用整齐打印",
"text": "-enable-pretty-printing",
"ignoreFailures": true
},
{
"description": "将反汇编风格设置为 Intel",
"text": "-gdb-set disassembly-flavor intel",
"ignoreFailures": true
}
]
}
]
}设置断点
源文件所在路径为treeline-debug/bench/run_custom.cpp,在这个文件上打断点
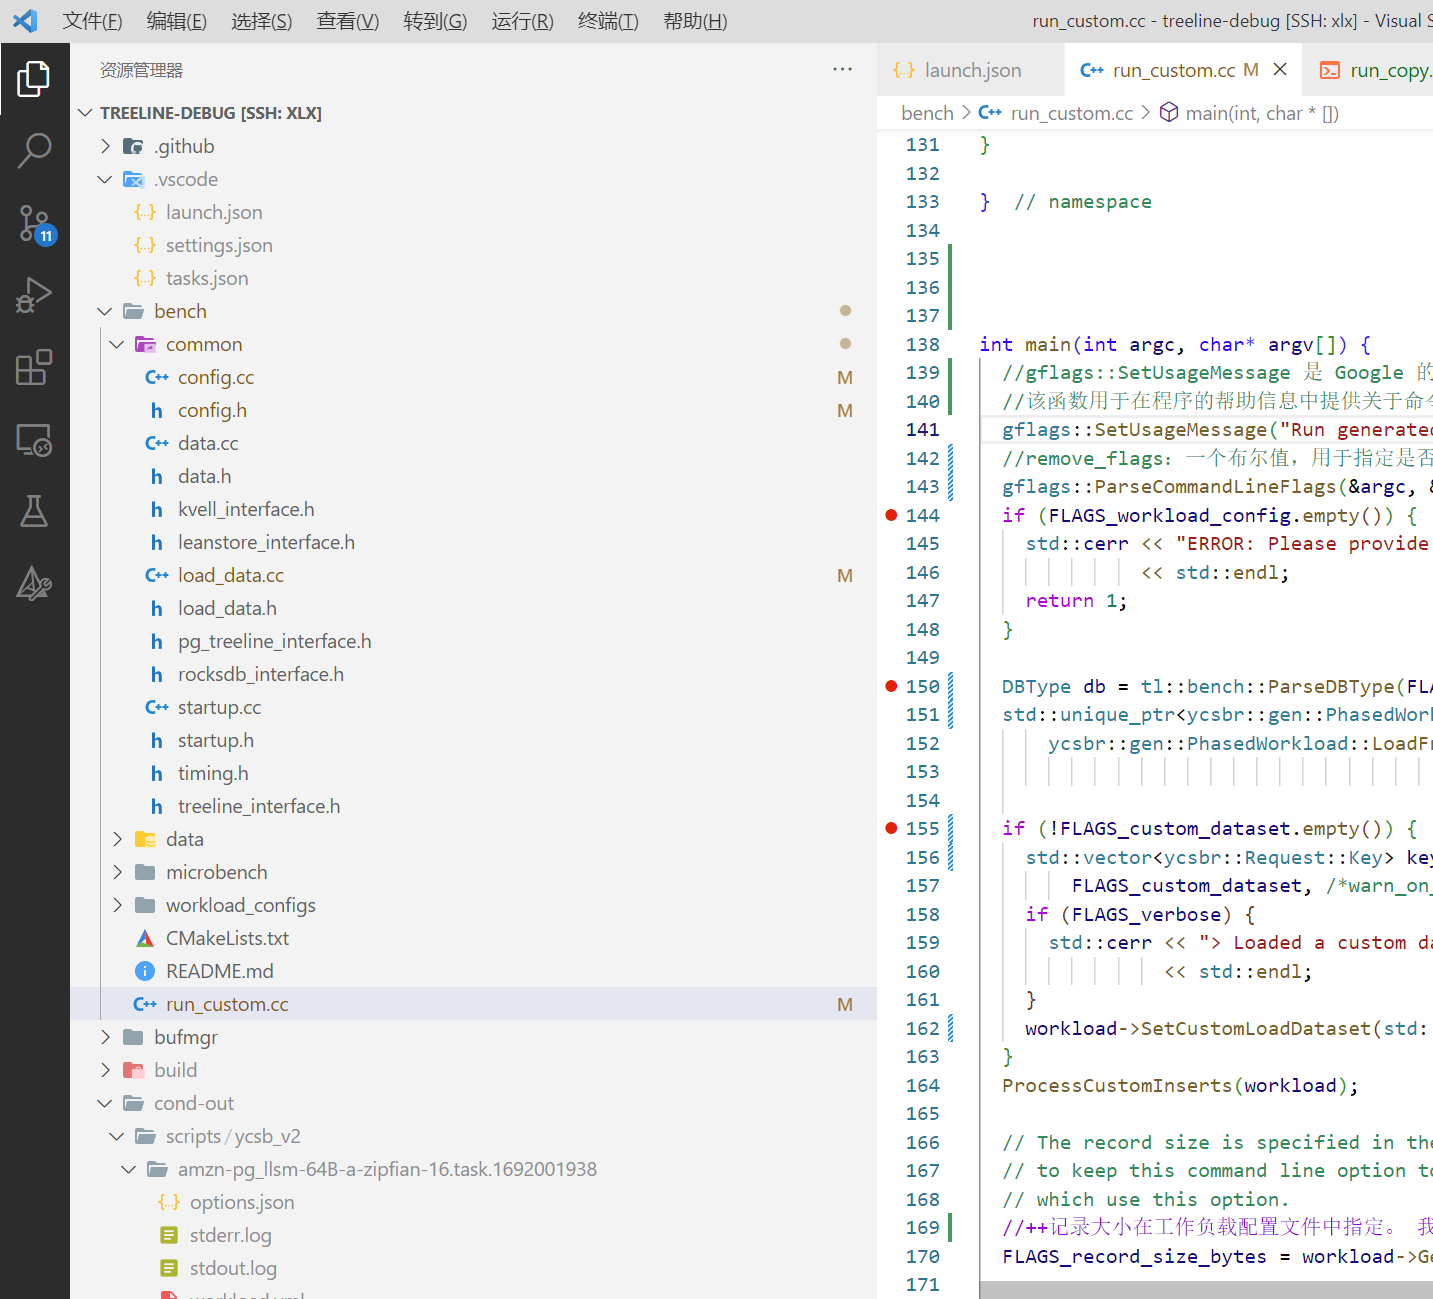
启动debug
首先点击左侧栏的运行和调试,然后选择对应的debug名称(launch.json中为(gdb)启动),最后点击小三角或者F5启动调试

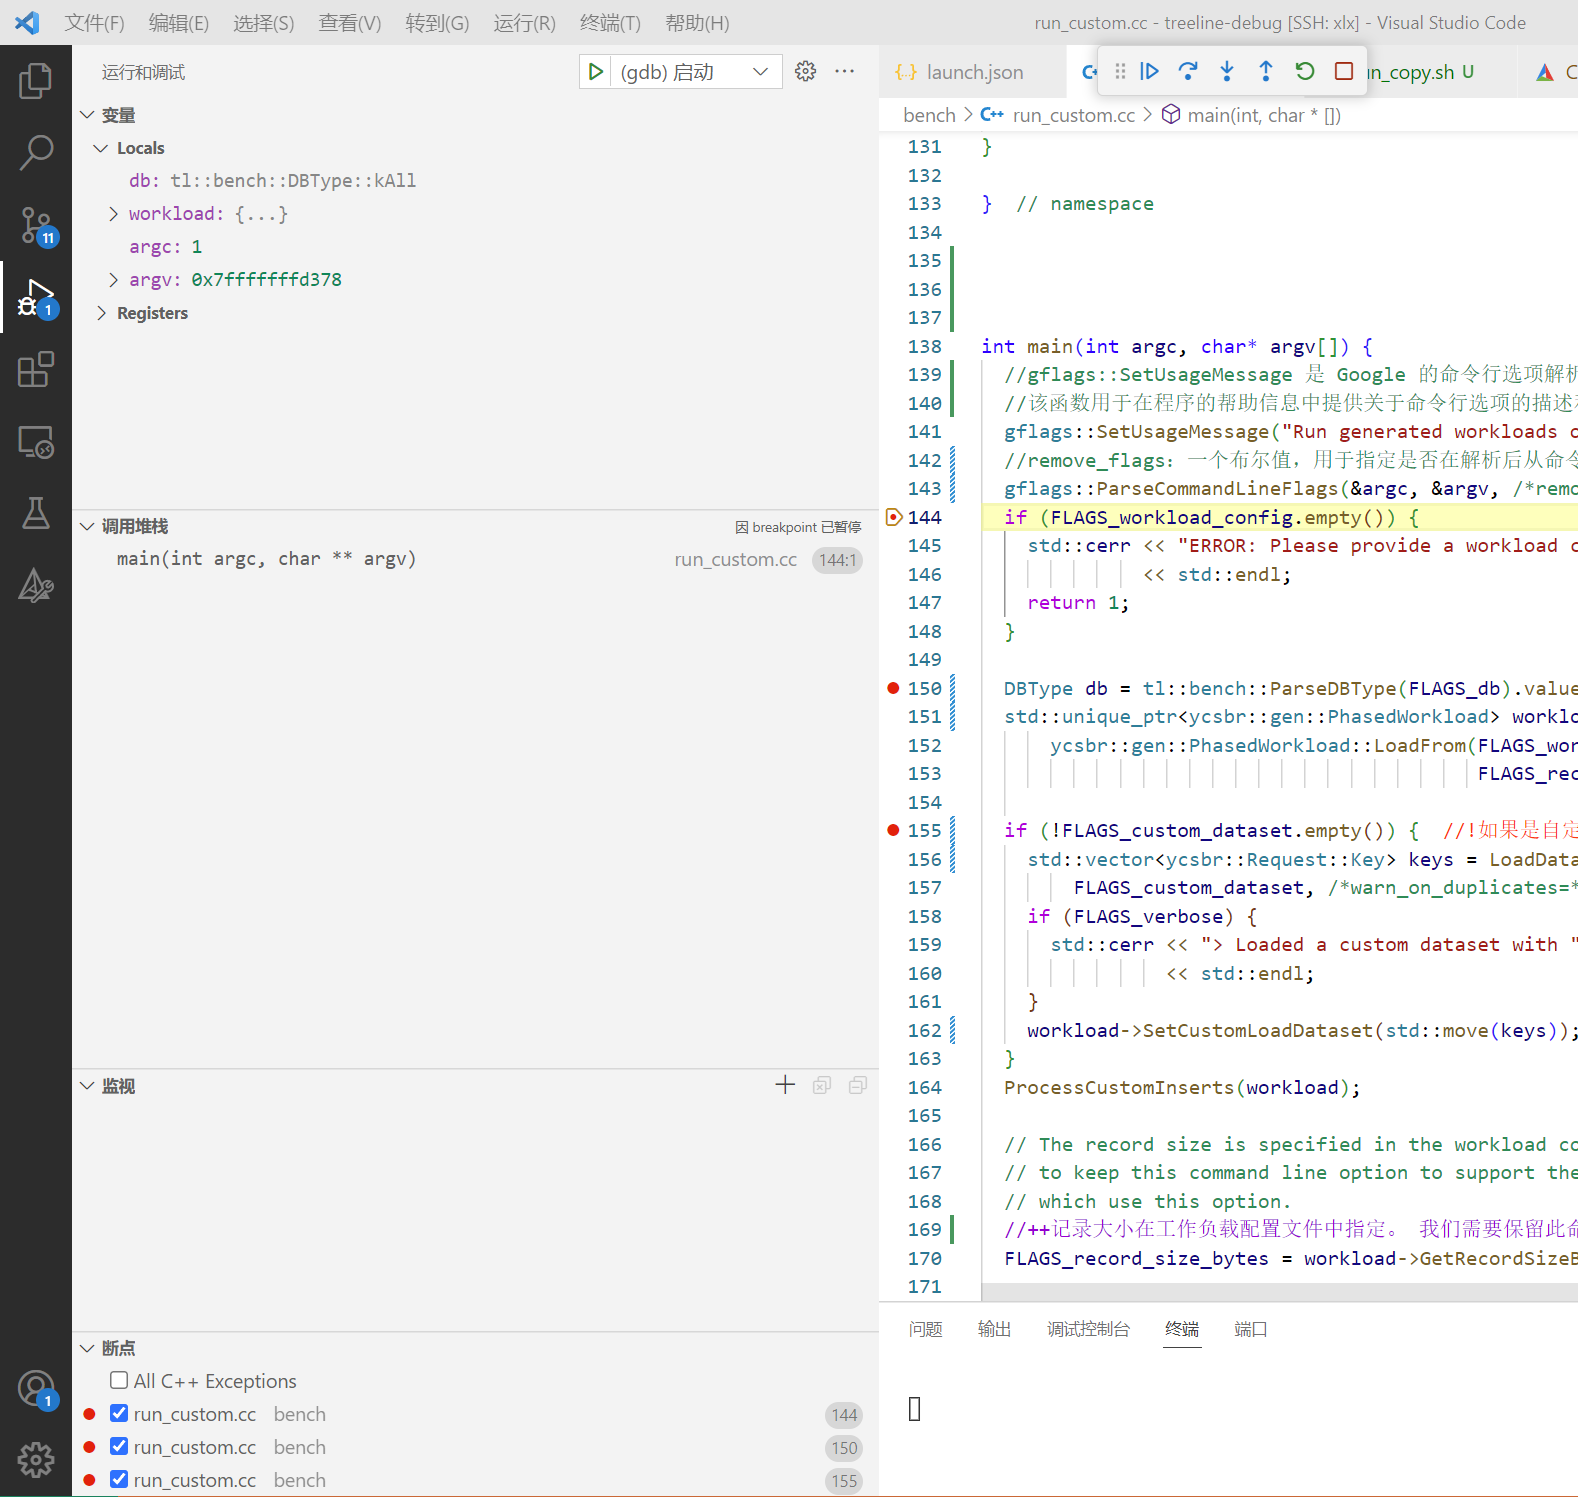
启动成功,在第一个断点处停下,左侧为变量、调用堆栈、监控和断点
